¶ User Page Function and Features
¶ Add User
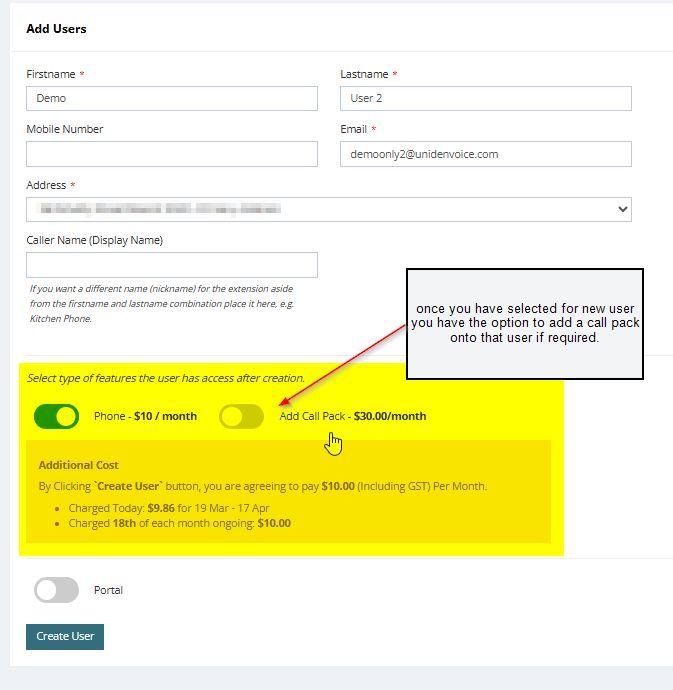
To create a user, click on 'Add User'. Be sure to enter the user's details. If you have two different locaitons, please ensure you add the second location's address to your account. You can do this by using the 'Address' field and clicking 'Create New Address'
it is important to be aware that if you have a uniden handset that the local TIME will be based of the location of that user that you have setup with the address assigned to them.
Your phone users will indicate how many users are included within the plan you are on.
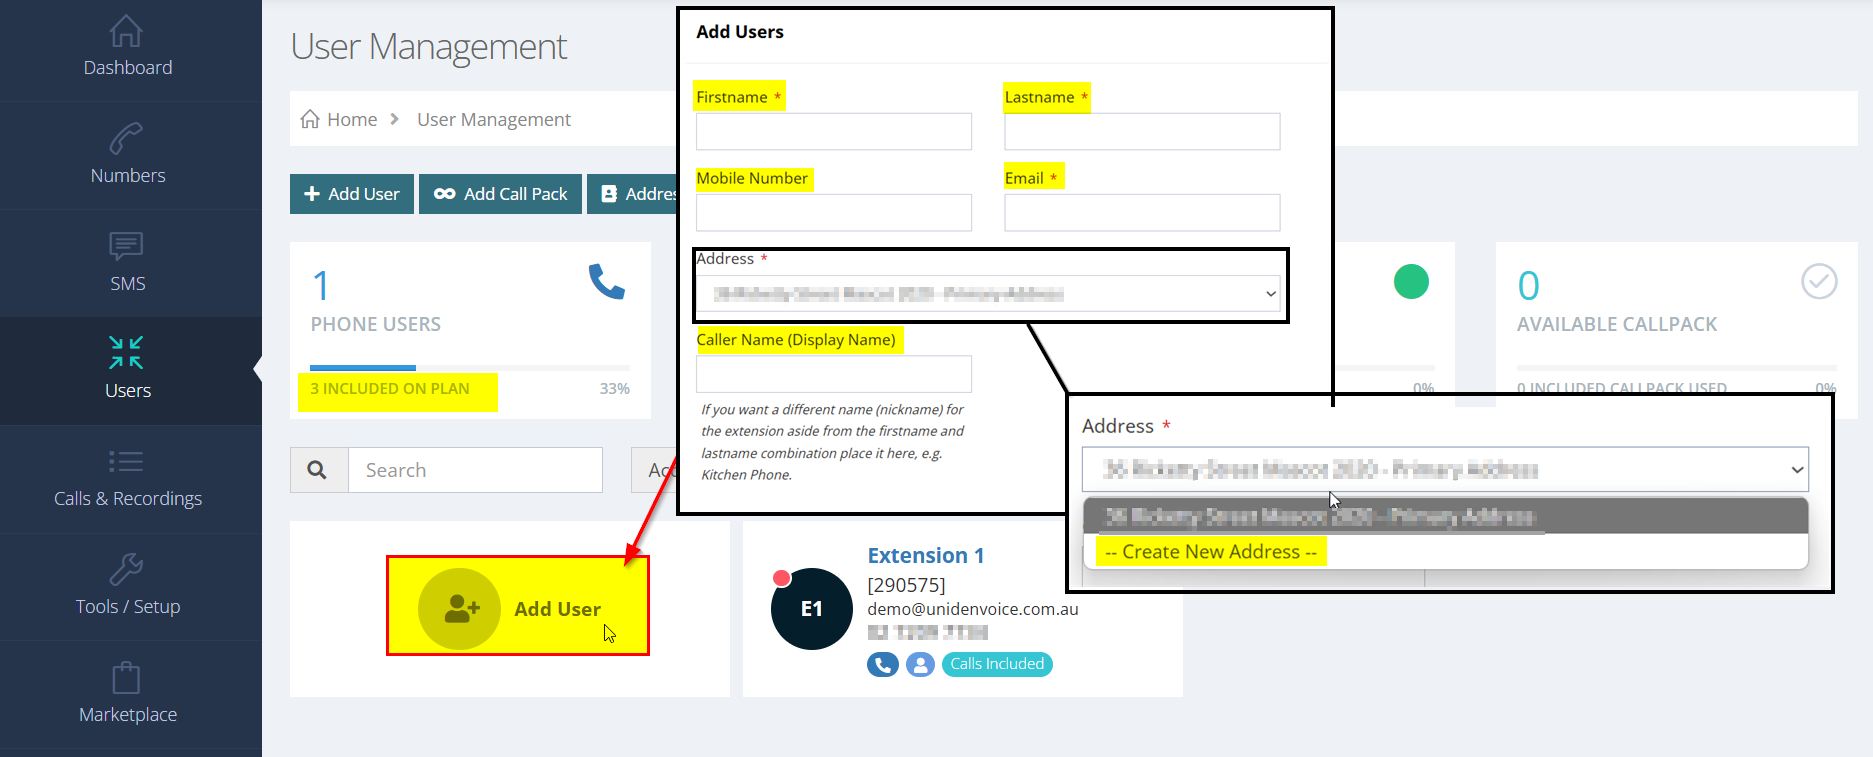
Display name - This message will be displayed on devices such as mobile apps and will also appear to internal users when they receive a call
Each User can utilise up to 3 devices
1 x Handset
1 x Mobile App
1 x Windows App
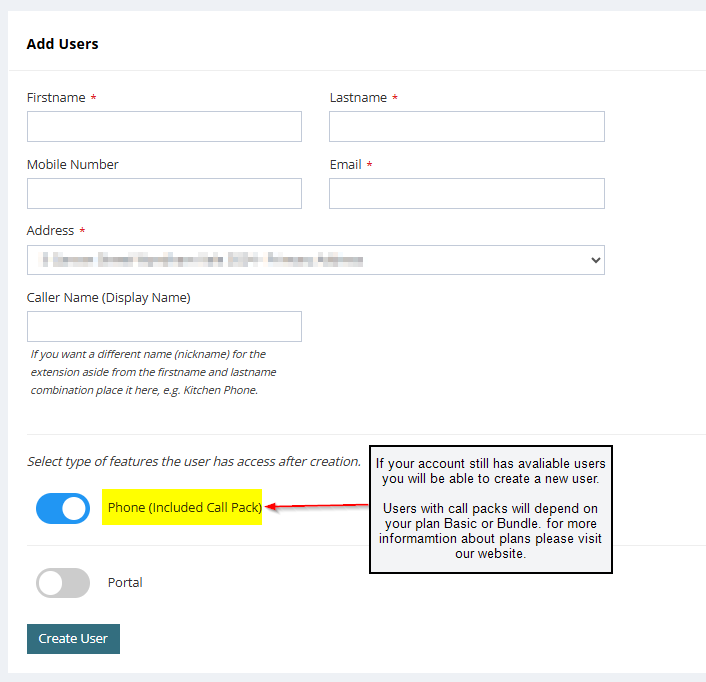
BUNDLE Plan - Users that have included call packs will appear as below
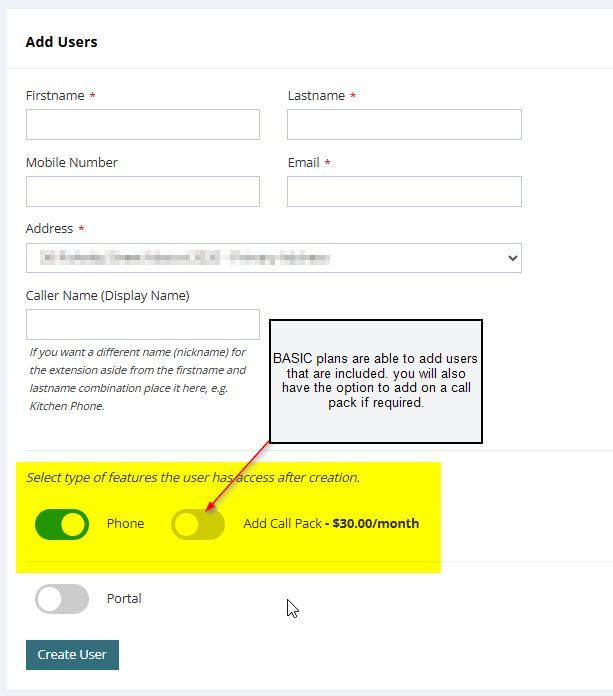
BASIC Plan - User can be added if you have not used all included users on the plan. If required you can also add in a call pack to allow that user to have unlimited calls.
IF you have used all users that are included on your plan and require extra users to be added. You can do so via the portal, keep in mind that extra users will incurr a charge per user of $10 and if you require additional call packs this will also be charged to the account.
Alternativley you can upgrade your plan to a higher plan depending on the ammount of users that you require. Please visit our website for more information on the plans.
¶ Add Call Pack
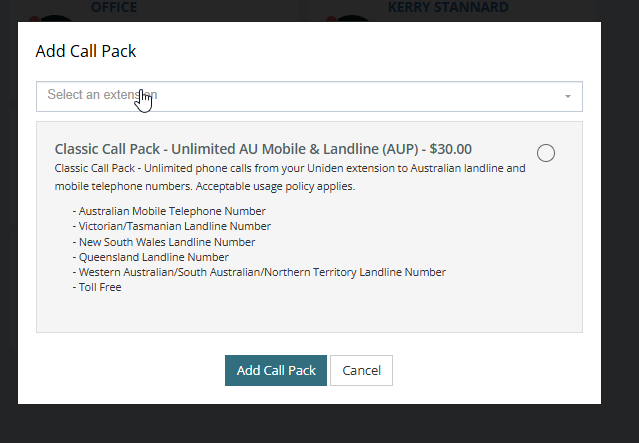
If wish to add a call pack to an existing user that does not have one. You can do this by going into "USERS" selecting the user you want to modify. Go to the section "VOICE" click on the button "+ Add call pack"
Check the Classic call pack box. Click “Add Call Pack” to complete your purchase.
This can also be done within the Users profile and removed.

¶ Export Extension List
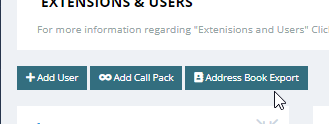
Your entire extension list under “My Extensions & Users” and clicking on Address book export.
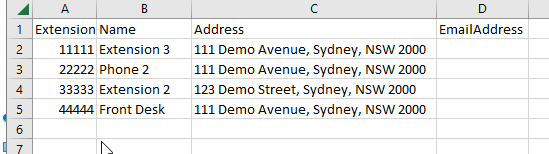
Once downloaded the CSV file, open to view your entire list of extensions.
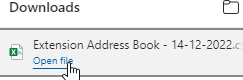
extensions/names/address and email addresses of those extensions will be exported.
¶ Configuring an User
Once clicking on an user you can configure the following settings
¶ User Details
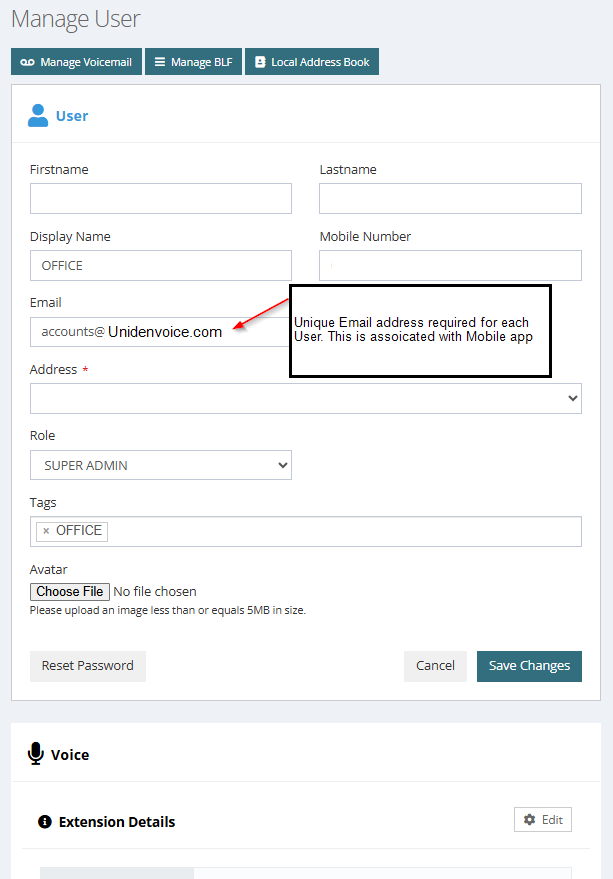
This is where you can name your extension and set your caller ID. click on “Edit” on the right hand top of the window.

User setup and Mobile app Email setup
¶ User Dialling Restrictions
We allow call restrictions to be placed on a per user basis, so you can control how users dial out.
¶ Allow External Dialling
Disabling this only allows users to make internal calls and then dial 000 ( Emergency Services )
¶ Setting Caller ID
Under Voice - Click on Edit
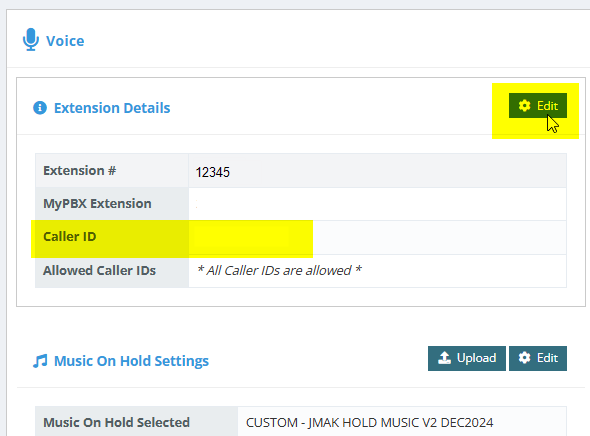
Here you will be able to edit the caller ID to your choosing.

Select the number you wish to use. also check if required to place that extension on private you can check the box.
Click Save to save the settings.
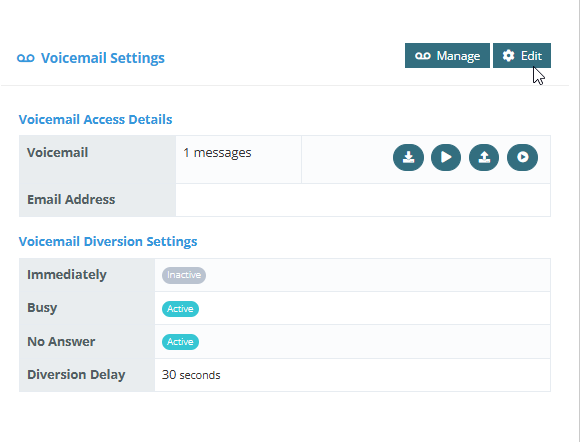
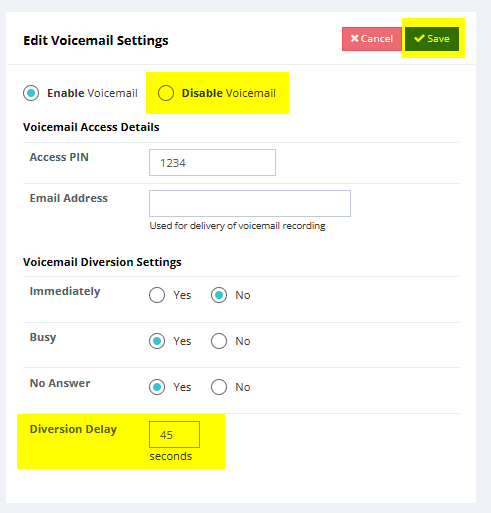
¶ Voicemail Settings
Here is where you can add your email address for voicemail to email, upload/record your voicemail message, or set your diversion settings.
To Upload a voicemail click on “Upload” to upload your audio file
*Please note Access PIN is no longer used for the VM option
If voicemail settings have been disabled, please note that the diversion delay (aka Time-out) will be defaulted to 30 seconds. If you wish to adjust this setting you will need to change the diversion delay prior to disabling the voicemail settings.
Example below shows the diversion delay has been set to 45 seconds after this time the system will then end the call if the agent has not answered the call as the voicemail option had been disabled.
¶ Mange Voicemail Messages
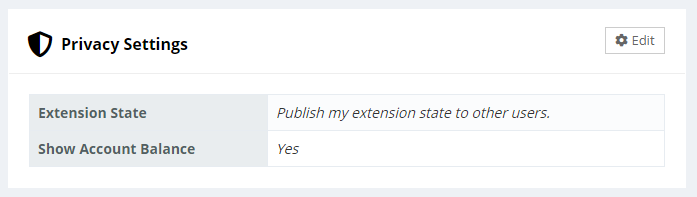
¶ Privacy Settings
Here you can choose to display your online/offline status to other extensions or not.
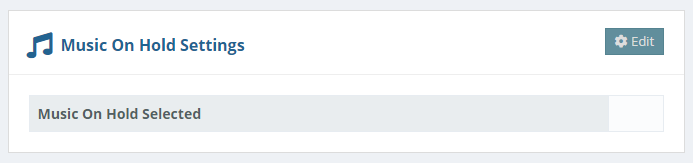
¶ Music On Hold Settings
Here you can choose what hold music your extension will play when you place someone on hold
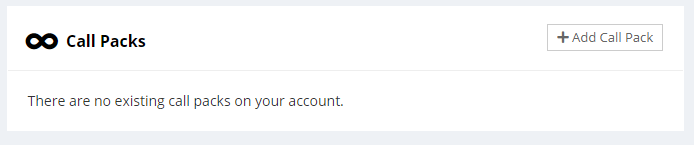
¶ Call Packs
Here you can add or remove call packs from your extension, call packs give you unlimited outbound calling to local, national and mobile.
¶ Manage Handset Type
Here is all the tools and information you need to register your extension to either a Uniden handset (plug and play), Mobile app, Windows app, or 3rd party SIP phone.
¶ How to send instructions
To send instructions to your staff member on how to setup their extension, click on the device they wish to setup Mobile Phone or PC Phone.
On the top right a button will appear “Send”, Click the button to send instructions via email.
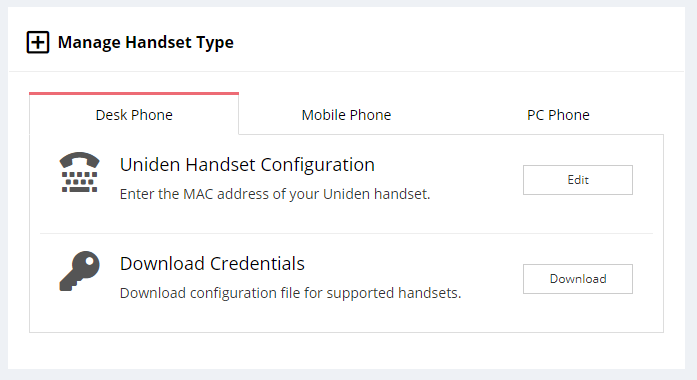
¶ How to configure a plug and play Uniden EVOC handset.
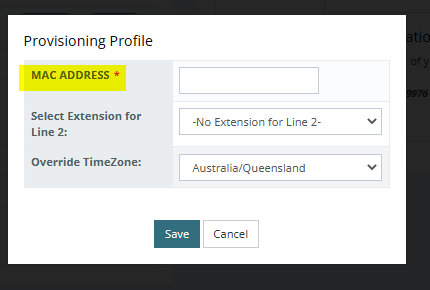
Simply add the MAC address of the handset to the extension you wish to configure the handset for.
Your MAC address can be found on the back of the phone itself or on the box in which the handset came in.

Enter in MAC address and hit Save
How to configure your extension to a Mobile app
Clicking “Send Email invitation” will send information to the email which was setup under the users profile. Click to View
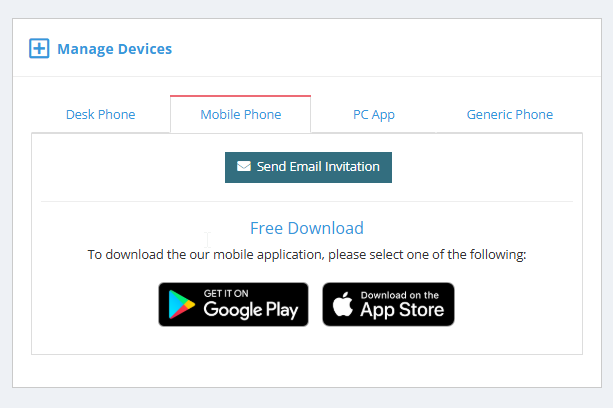
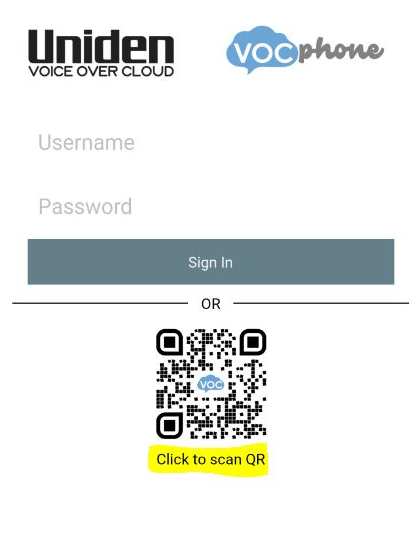
Click on the Mobile Phone tab, download and install the app, download the app either from the Apple store or Google play once you open the app you will be asked to either Login or scan a QR code you need to Click to Scan QR code.
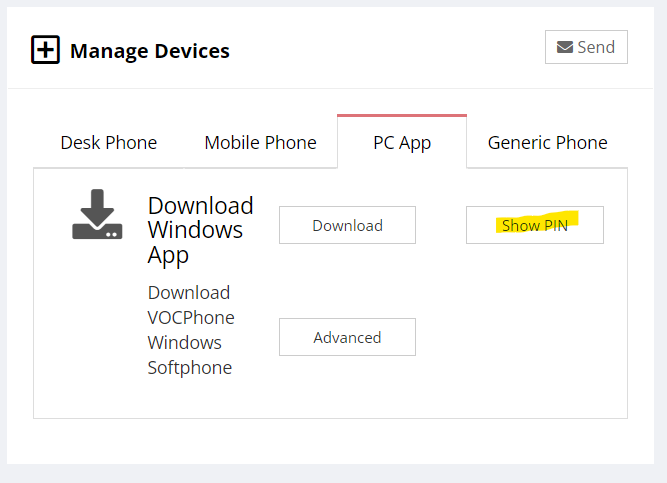
¶ How to configure your Windows app
First, you need to download the windows app and then simply click on the PC Phone tab and click Show Pin this will display the PIN for that extension.
¶ Importing Address Book
You are able to Import your own address book using our CSV Template.
Go to the desired extension and click on “Local Address book”
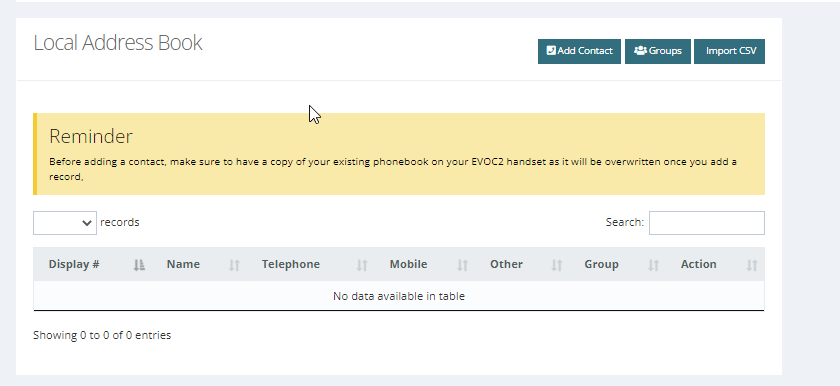
Click on “Import CSV” (using our CSV Template for the correct format)
Once completed import your finished CSV file into each extension which requires the phonebook list.
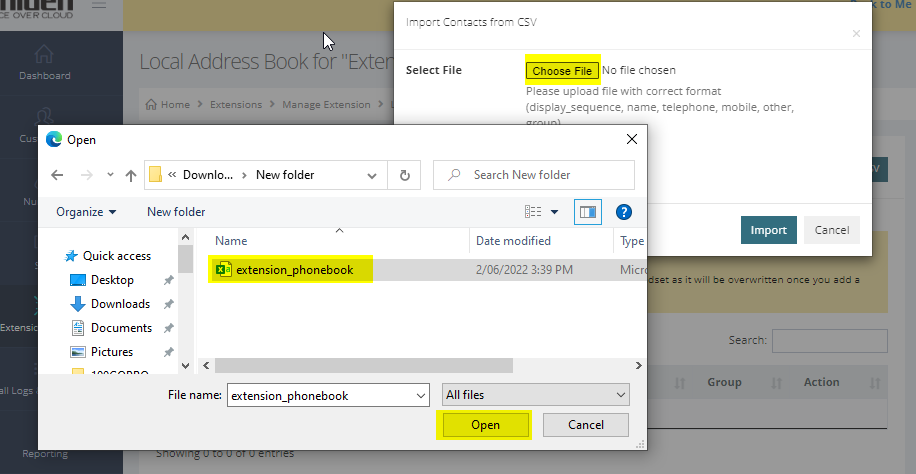
Click “Import” and follow prompts.
Once uploaded your address book will appear on that extension.
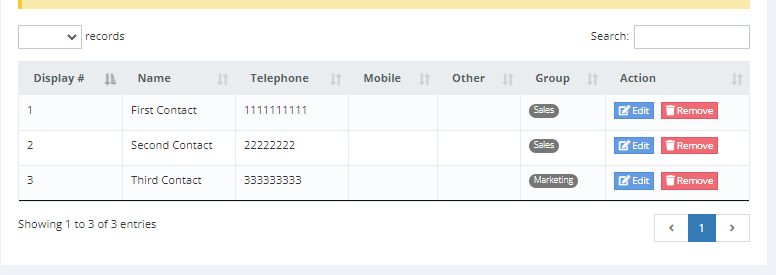
¶ Address Groups
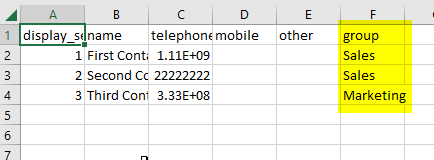
Notice in the image above that you are able to group customers in your address book. You will need to create those groups by clicking on “Groups” on the Local Address book page.
Once created then you can update your CSV, where it has the column in the spreadsheet Groups.